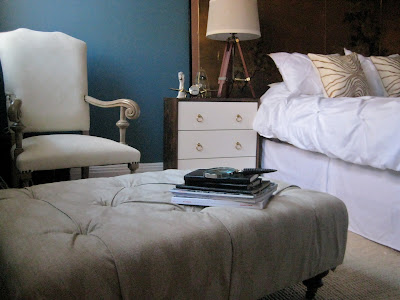
And now looks like this (see the whole bedroom here):

It didn't take a trip to the upholsterer's. In fact, the transformation cost less than $40. These were the materials:
 |
| fabric bought here |
Pretty simple. The methodology, on the other hand... well, remember when I said that I tend to make up weird solutions to get around my lack of real DIY skills? This is one of those times.
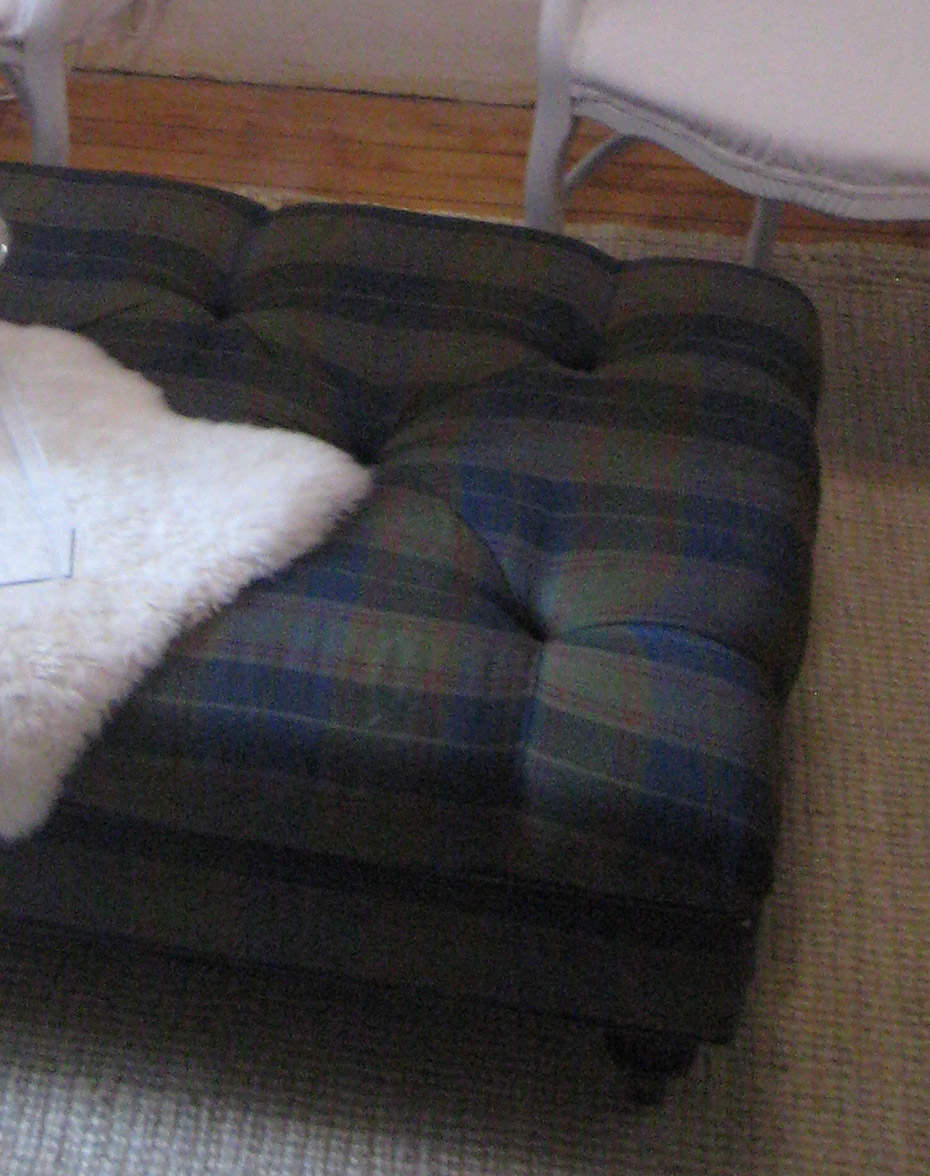
The process went something like this. First, I knew I didn't want it to be plaid. (Note: I LOVE plaid. But it's not the easiest to decorate around, and since I only have two rooms I didn't want to be obligated to decorate one of them around dark green plaid.) I didn't want to destroy it, though; it's a nice quality (thrifted) Ethan Allen piece. Most of all, I didn't want to lose the tufts. I love that deep tufting! Unfortunately, actual reupholstering was out of the question: there was no budget to have it professionally done, and reupolstering it myself would definitely count as "destroying."
So I new I wanted to figure out a way to cover it with new fabric while conserving the tufting. How I managed to do that is not easy to explain and was nearly impossible to take pictures of, so here's a little diagram to help me explain:
 |
| that second sketch looks like some sort of strange flower diagram... |
The red thread in the closeup is the heavy-duty thread mentioned earlier. It's tucked under the button; this is the hard part, because the tufts are SO deep, but once it's under there, it definitely stays. It's threaded through the new fabric and then pulled taut, obviously (I made it look loose in the diagram for the sake of clarity), and used to attach the new button.
Envisioning the method was easy; putting it into practice was, as you might expect, a pain in the butt. You can see from this picture that some of my tufts are deeper than others:

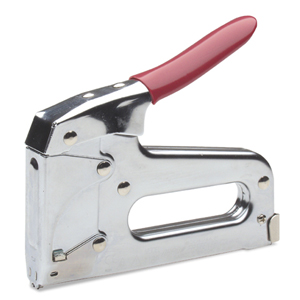
The next step, of course, was to turn it upside down, bust out my faithful staple gun, and attach the fabric to the underside of the ottoman. Lastly, I trimmed all the edges of the fabric so there wasn't any excess hanging down.
Admittedly not the simplest or most logical of before-and-afters, but I'm really happy with how it turned out!
thanks for sharing! I'm going to have to try this out too!
ReplyDelete